Saturday, June 25, 2011

Beef with Snow Peas

I surprised myself with this dish.  It was mostly for my husband because he is a meatatarian and loves Asian cuisine, but I really liked it too!  This is a spicy stir fry that can be changed up very easily by using chicken instead of beef or using different vegetables.  Stir fry is great because it is a quick and filling dinner that is perfect for a weeknight.  This dish was great leftover too.


Cut up the beef into bite size pieces.


Measure out 1/2 C. soy sauce.


Then measure a few tablespoons of sherry.


Mix together the soy sauce, sherry, brown sugar, corn starch, and ginger.  Put the meat in the marinade and toss with a spoon to coat.  Set aside.


Heat oil in a skillet over high heat.  Add the snow peas and cook for 45 seconds.  Remove from pan to a clean plate.


Add half the meat mixture and half the scallions to the same skillet.  Make sure mixture is spread out in the pan and allow to cook without stirring it for one minute.  Turn the meat over and cook for another 30 seconds.  Remove to a clean plate and repeat with the other half of the meat and scallions.  Add first plate of meat back in the pan along with the marinade and snow peas.  Cook for 30 seconds.


Cook rice (I used minute rice) and spoon meat and veggies over rice.  Sprinkle with red pepper flakes.  Serve.


Beef with Snow Peas
Servings: 8
Ingredients:
1-½ lb. boneless sirloin steak, cut into bite size pieces
½ C. Low Sodium Soy Sauce
3 T. Sherry Or Cooking Sherry
2 T. Brown Sugar
2 T. Cornstarch
1 t. Ground Ginger
8 oz.Fresh Snow Peas, Ends Trimmed
5 whole Scallions, Cut Into Half-inch Pieces On The Diagonal
3 T. Olive Oil
Crushed Red Pepper, For Sprinkling
Rice, Cooked According To Package
Instructions:
In a bowl, mix together soy sauce, sherry, brown sugar, cornstarch, and ginger. Add sliced meat to bowl and toss with hands. Set aside.
Heat oil in a heavy skillet (iron is best) or wok over high heat. Add snow peas and stir for 45 seconds. Remove to a separate plate. Set aside.
Allow pan to get very hot again. With tongs, add half the meat mixture, leaving most of the marinade still in the bowl. Add half the scallions. Spread out meat as you add it to pan, but do not stir for a good minute. (You want the meat to get as brown as possible in as short amount a time as possible.) Turn meat to the other side and cook for another 30 seconds. Remove to a clean plate.
Repeat with other half of meat, allowing pan to get very hot again first. After turning it, add the first plateful of meat, the rest of the marinade, and the snow peas. Stir over high heat for 30 seconds, then turn off heat. Check seasonings and add salt only if it needs it. Mixture will thicken as it sits.
Serve immediately over rice. Sprinkle crushed red pepper over the top to give it some spice.
Source: inspired by Pioneer Woman Cooks

Thursday, June 16, 2011

Stuffed Cake Bites

Cake bites seem to be all the rage in the blogging world and have even popped up at Starbucks.  They are so convenient because they are already in individual servings and would be great for any holiday, occasion, or just because.  I made these cake bites because I had some cake, frosting, and chocolate melting discs in the freezer that I wanted to use up.  Yes, I pretty much freeze everything!  Stuffing cookies has also been all the rage, so I figured I would combine the two and make stuffed cake balls...the result?  Fantastic!  I have mentioned before that I am trying to use up all my candy in the cupboard, so I stuffed the cake bites with Rolo's...excellent choice.


Mash up a 9x13 inch baked cake with 11/2 C. of frosting.  Any cake and any frosting would work...make up your own concoction!  Enclose a Rolo (or whatever candy you prefer) in the center of each cake ball.  Freeze the cake bites for about 15-20 minutes.


Melt some chocolate discs in the microwave in 30 second intervals until the chocolate is melted.


Take the cake bites out of the freezer and coat in the melted chocolate and put back in the freezer until the chocolate hardens.


Here is what the inside looks like.


Stuffed Cake Bites
9x13 inch baked triple chocolate cake
11/2 C. vanilla frosting
2 C. milk chocolate melting discs
Rolo's
Directions:
Mix the cake and vanilla frosting together until completely combined.  Form 2 inch balls with the cake mixture.  Press a Rolo in the center of each cake ball and enclose completely.  Place the cake balls in the freezer for 15-20 minutes.  Melt the chocolate melting discs in the microwave in 30 second intervals until melted.  Take the cake balls out of the freezer and dip into the melted chocolate.  Decorate.  Place the cake bites in the freezer until the chocolate hardens.
Servings: 24-30

Triple Chocolate Cake
1 box Pillsbury Devils Food Cake Mix
4 large eggs
1/2 Cup canola oil
1/2 Cup water
8 oz sour cream
1 small box instant chocolate pudding mix
1 bag mini or regular chocolate chips
Directions:
Preheat oven to 350 degrees F.  In a stand or electric mixer add the cake mix, eggs, oil, water, sour cream, pudding mix and chocolate chips.  Beat until well combined, about 1 1/2 minutes.  Will be thick.  Pour evenly into a well greased 9x13 inch baking dish.  Bake for 30-35 minutes or until toothpick comes out clean from center of cakes.  Let cool completely.
Source: Picky Palate

Vanilla Frosting
3 C. powdered sugar
1/2 C. butter, softened
2 t. vanilla extract
2 T. milk
Gradually add the sugar to the softened butter and cream together with an electric mixer.
Stir in the vanilla and milk.  Beat until smooth and of spreading consistency.  Add a little more milk or sugar as needed.
(I doubled the recipe for 24 cupcakes)
Source: Crazy about Cupcakes by Krystina Castella

Saturday, June 11, 2011

Cinnamon Roll Breakfast Bake

Are you looking for something special for breakfast?  I always am, which is why I concocted this deliciousness!  I had some cinnamon rolls in my freezer from the last time I made homemade cinnamon rolls. I tried a new recipe and wasn't crazy about it.  Unfortunately, it made a lot and I had to freeze half of them.  I decided to put those rolls to good use and turned them into something else...and I can now say they have transformed into something delectable!  I know that it is a rare case to have rejected cinnamon rolls lying around the house, so prepackaged or refrigerated ones from the grocery store would be just as good.  This dish is very easy to throw together and reminds me of french toast casserole.  It would be perfect for overnight guests or a special treat during the week!


Here is the rejected, bland cinnamon rolls.  Tear them into bite size pieces.


Add the eggs, milk, cream, sugar, vanilla, and salt to a bowl.


Whisk the ingredients together.


 Pour over torn up cinnamon rolls.  Cover and refrigerate over night.


Remove from the refrigerator 30 minutes before baking.  Dot with butter and sprinkle with cinnamon and sugar.


Cover and bake at 350 degrees F for 45-55 minutes or until a knife comes out clean.  Serve warm with maple syrup.


Cinnamon Roll Breakfast Bake
1 package or dish of baked cinnamon rolls
8 eggs, beaten
2 C. milk
1 C. heavy cream
1/4 C. sugar
1 t. vanilla
3/4 t. salt
Topping:
2 T. butter
3 T. sugar
2 t. cinnamon
Tear cinnamon rolls into bite size pieces.  Place in a greased 9x13 in. baking dish.  In a bowl, beat eggs, milk, cream, sugar, vanilla, and salt.  Pour over cinnamon rolls.  Cover and refrigerate over night.  Remove from the refrigerator 30 minutes before baking.  Dot with butter.  Sprinkle with cinnamon and sugar.  Cover and bake at 350 degrees F for 45-55 minutes or until knife comes out clean.  Let stand 5-10 minutes.  Serve with maple syrup.

Sunday, June 5, 2011

Cat In The Hat Cake

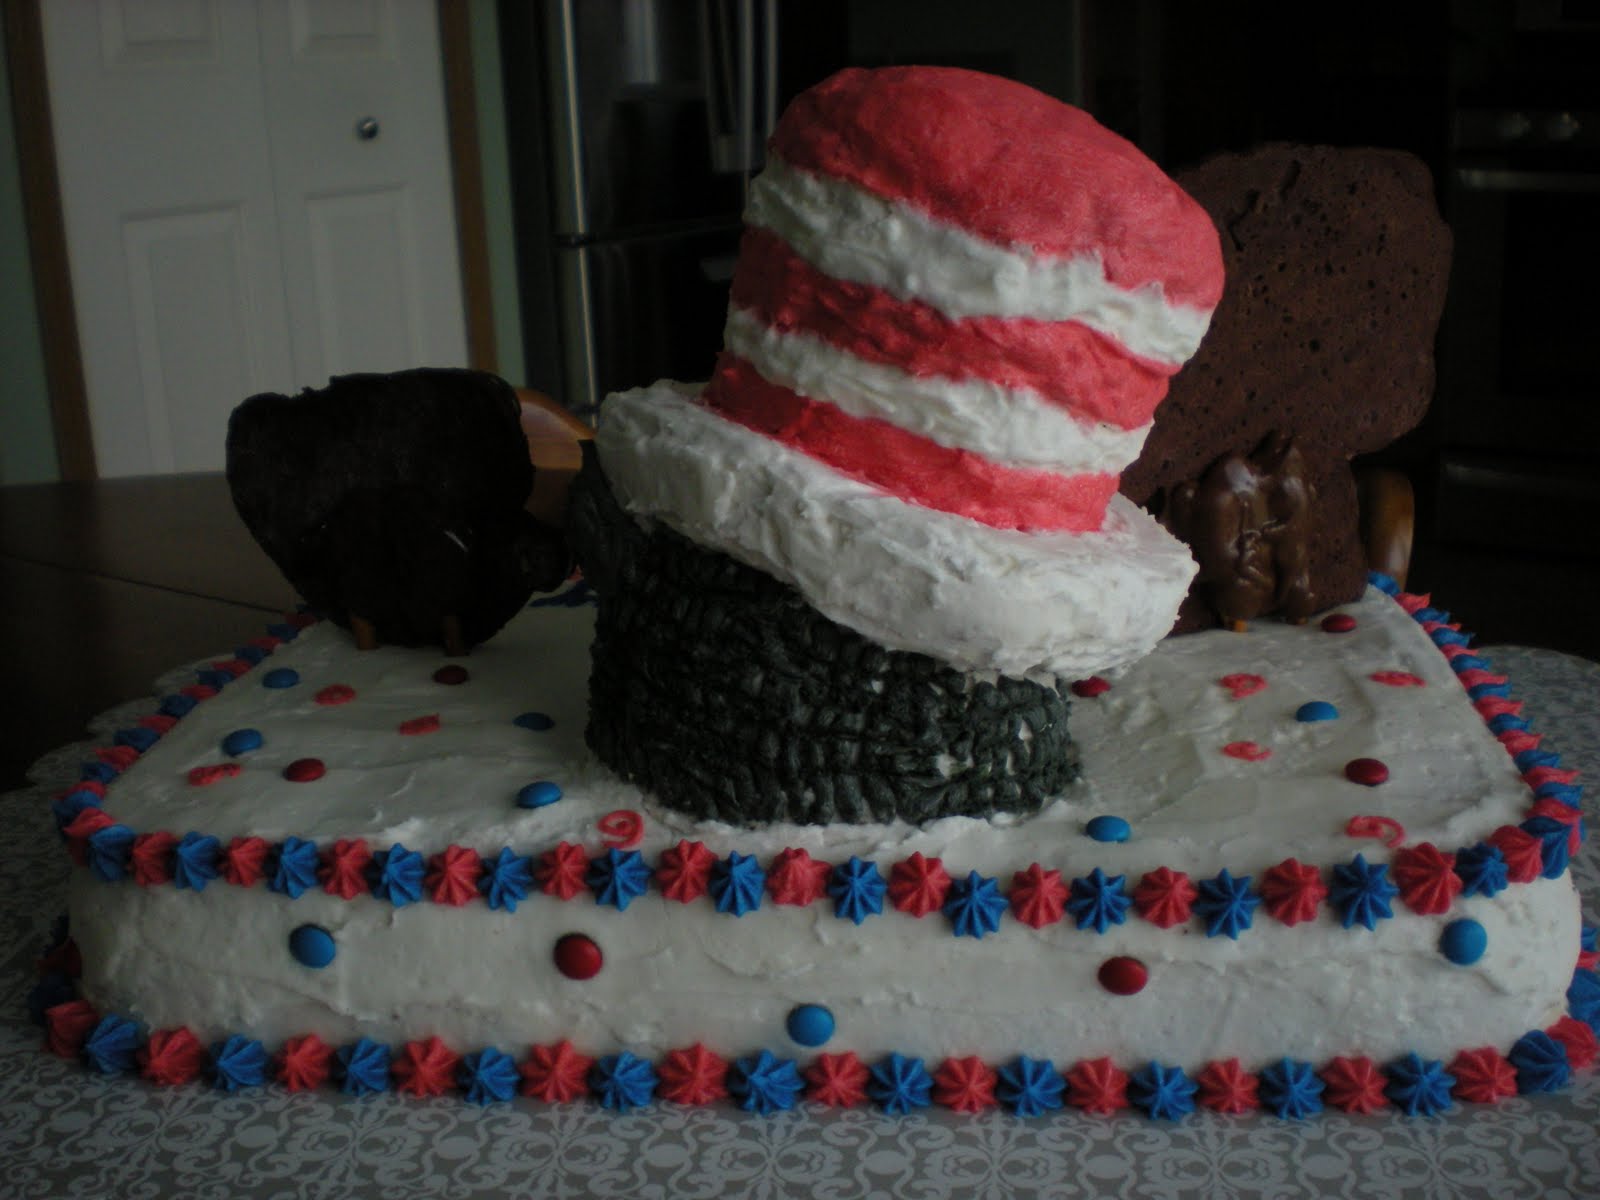
Boy, did I have fun last weekend!  I was asked by one of my husband's co-workers if I could make her son a birthday cake for his fifth birthday...a five year old's birthday cake?!  I was feelin' the pressure.  She said that he likes "The Cat In The Hat", and especially likes Thing 1 and Thing 2.  I had to investigate because it was hard for me to remember what all the characters exactly looked like.  So, I got the book from the library and googled some images on the computer.  This cake definitely screams "The Cat In The Hat" AND Thing 1 and Thing 2!  What do you think?


I started by making some chocolate cookies to put on top of the cake.  I found some images on the computer and made them to the size I needed.  Then, I cut out the images and laid them on my rolled out cookie dough, and cut out the images with a knife and baked them on a parchment-lined cookie sheet.


The cookies look a little funny when they first come out of the oven, but they look great after being decorated.


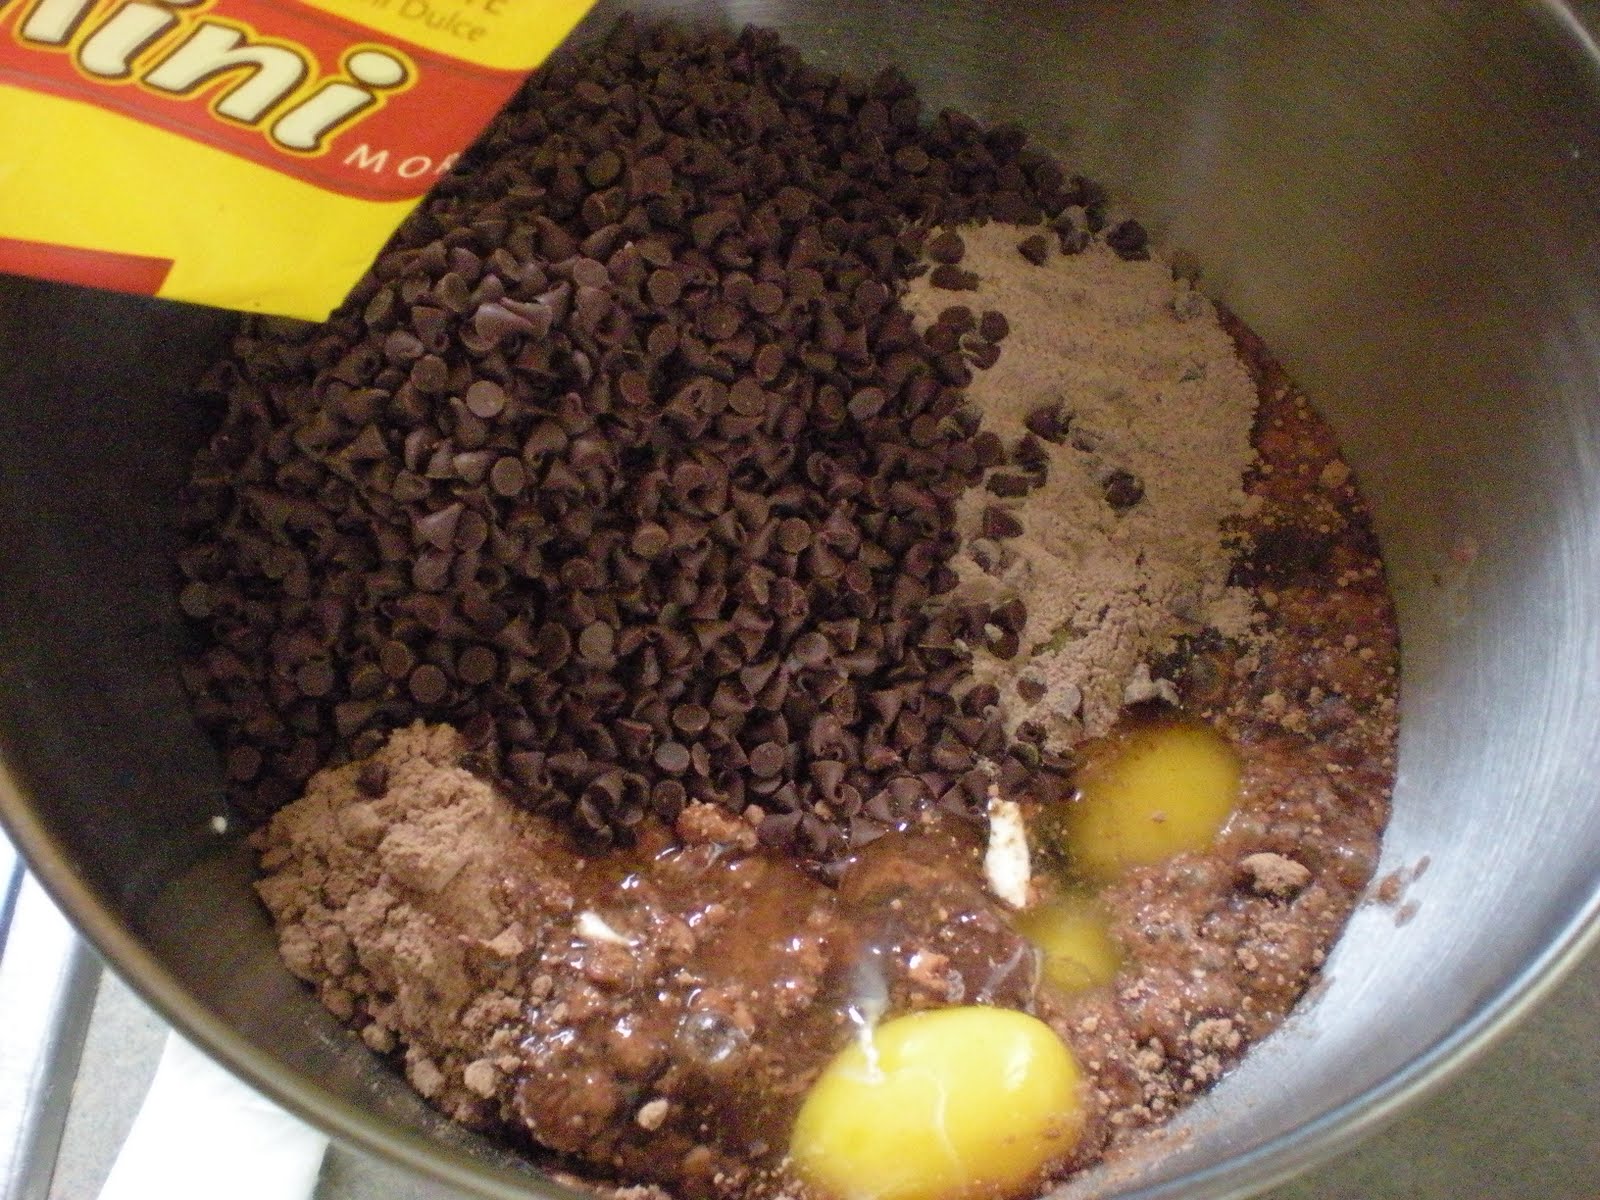
Here are the ingredients you will need for the cake: pudding, cake mix, eggs, canola oil, sour cream, and chocolate chips


Dump the ingredients into the bowl of an electric mixer, and beat on medium speed for three minutes.


Pour the batter into a 9x13 in. cake pan...


...and two nine in. round cake pans


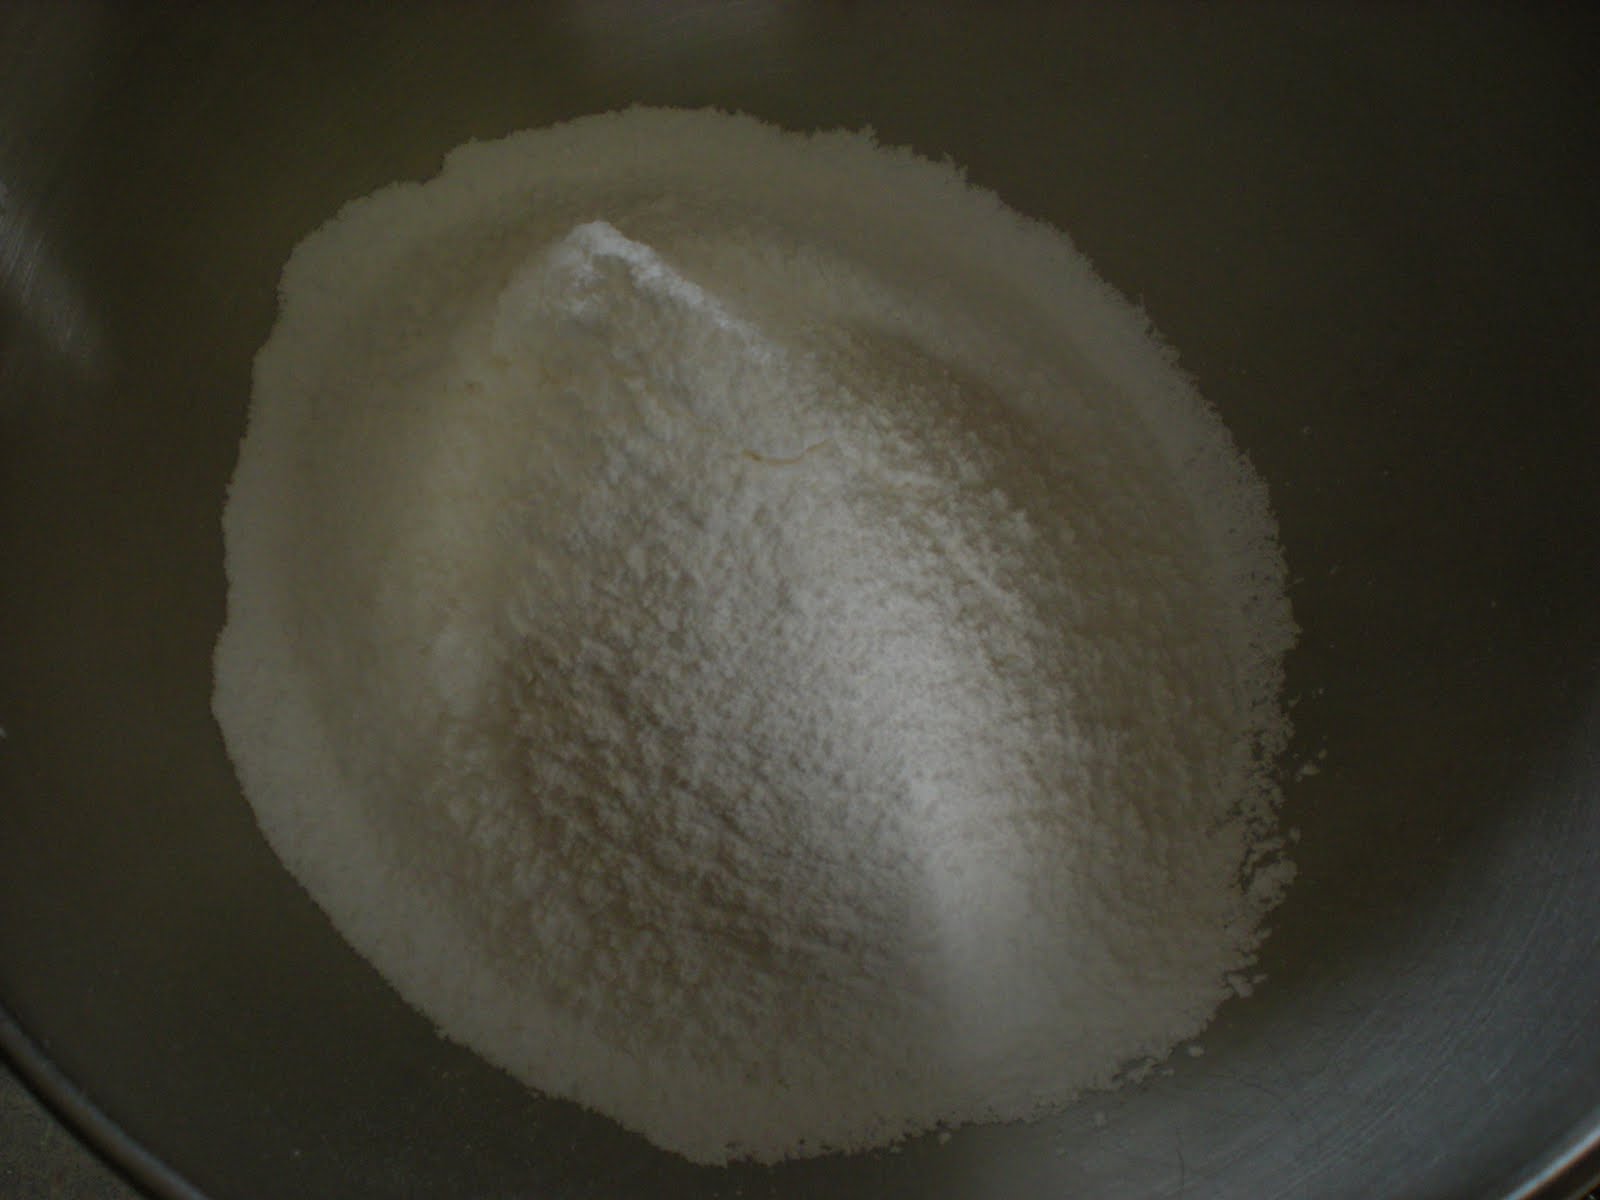
While the cake is baking, make the royal icing for the cookies.  Sift the powdered sugar and add to the bowl of a stand mixer.


Add the meringue powder.


Then add the water.  Beat for seven to ten minutes.


I used a mustard and ketchup bottle to outline the cookies.  After outlining all the cookies, water down the icing to flood the middle.  Here's Thing 1 and Thing 2.


This is the fish in a teapot.


After the cakes are cooled, make the frosting for the cake.  The ingredients for the vanilla frosting are milk, powdered sugar, butter, and vanilla.


Dump all the ingredients in the bowl of a stand mixer, and mix on medium-high speed.


Carve the round cakes into a head and hat by carving out small circles and stacking them on top of each other.  Make a larger circle for the brim of the hat.  Form a snout and ear on the cat and secure it by shoving popsicle sticks in the head and hat.  Frost the cake after it is assembled (it will look very crumby, so refrigerate it for about 30 minutes).  Then frost it again so there are no crumbs showing.


Decorate the cake.  I used toothpicks to make the small details on the cookies and the face of the hat.


Thing 1 and Thing 2!


Mr. Fish turned out really cute too!


I attached the cookies by melting some chocolate discs.  I laid pretzels on the bottom of each cookie and poured the chocolate over the pretzels.  Freeze the cookies to harden the chocolate.  Push the pretzels down into the cake.


Here is what the back of the cat looked like.  For his fur, I piped vertical lines down his head and dragged a toothpick across the fur horizontally.  I also put mini red and blue M&M's and red swirls all over the cake.


Chocolate Sugar Cookies
¾ C. all-purpose flour
1/3 C. Dutch process cocoa powder
Pinch of salt
6 T. (3 oz.) unsalted butter, at room temperature
¾ C. confectioners' sugar
1 large egg
½ t. vanilla extract
Directions:
In a small bowl, combine the flour, cocoa powder and salt; whisk to blend and set aside.  In the bowl of an electric mixer, combine the butter and sugar.  Beat on medium-high speed until light and fluffy, 2-3 minutes.  Blend in the egg and vanilla.  With the mixer on low speed, add the dry ingredients and mix just until incorporated and no streaks remain.  Form the dough into a disc, wrap tightly with plastic wrap and refrigerate until firm, 1-2 hours.
Preheat the oven to 325˚ F.  Line a baking sheet with parchment paper or a silicone baking mat.  On a lightly floured work surface, roll the dough out to about ¼-inch thickness.  Cut out desired shapes with cookie cutters and place cut outs on the prepared baking sheet.  Bake 10-12 minutes, just until set.  Let cool on the baking sheet about 5 minutes, then transfer to a wire rack to cool completely.  Decorate as desired.
*Note - The yield of this recipe will depend on the size and shape of cookie cutter you use, so an accurate estimate is not possible.
Source: Annie's Eats, originally adapted from Martha Stewart

Royal Icing
4 C. powdered sugar, sifted
2 T. meringue powder
5 T. water
Directions:
Combine all ingredients in the bowl of a stand mixer fitted with the paddle attachment.  Mix on low speed until the sheen has disappeared and the icing has a matte appearance (about 7-10 minutes).  Transfer the contents of the mixing bowl to an air-tight container.  This will be the stiffest consistency of the icing, and at this point it is still too stiff to use for decorating.  Add water a very small amount at a time and stir by hand until fully incorporated.  Continue until the icing has reached a consistency appropriate for piping.  (Remember, if you are having any difficulty piping, it is still too thick.  Add a little more liquid and try again.)  Using a pastry bag, pipe around the edges of each cookie.  Let stand so the icing will set.  Make sure to keep the leftover icing covered at all times when not in use so that it does not begin to harden.
Once all the cookies have been edged, transfer some of the remaining icing to a separate air-tight container.  Thin out by incorporating a small amount of water at a time, until the icing drips off the spoon easily when lifted and then smooths in with that still in the bowl.  If you go too far and the icing is too thin, add more sifted powdered sugar to thicken it again.  Once the icing has reached the desired consistency, transfer it to a squeeze bottle (or a plastic bag with a hole in one corner), and flood the area surrounded by the piping on each cookie.  If it does not completely spread to the edges, use a toothpick to help it along.  Allow to set.
Use the remaining thicker icing for piping decoration as desired.  Gel icing color is best as it does not add a significant amount of liquid.  Liquid food coloring can be used as well – add powdered sugar as needed to compensate for any thinning that occurs.
Source: Annie's Eats, originally from Good Things Catered


Triple Chocolate Cake
1 box Pillsbury Devils Food Cake Mix
4 large eggs
1/2 Cup canola oil
1/2 Cup water
8 oz sour cream
1 small box instant chocolate pudding mix
1 bag mini or regular chocolate chips
Directions:
Preheat oven to 350 degrees F.  In a stand or electric mixer add the cake mix, eggs, oil, water, sour cream, pudding mix and chocolate chips.  Beat until well combined, about 1 1/2 minutes.  Will be thick.  Pour evenly into 2 well greased 9 inch cake pans.  Bake for 30-35 minutes or until toothpick comes out clean from center of cakes.  Let cool completely.
Source: Picky Palate

Vanilla Frosting1 C. butter, softened
6 to 8 C. confectioners’ sugar
1/2 C. milk
2 t. vanilla extract
Directions:
Place the butter in a large mixing bowl. Add 4 cups of the sugar and then the milk and vanilla.
On the medium speed of an electric mixer, beat until smooth and creamy, about 3 to 5 minutes.  Gradually add the remaining sugar, 1 cup at a time, beating well after each addition (about 2 minutes), until the icing is thick enough to be of good spreading consistency. You may not need to add all of the sugar. Icing can be stored in an airtight container for up to 3 days.
Source: inspired by Bakers Royale